Step 1: Log in to WordPress
- Open a web browser and go to your WordPress login page. Typically, it’s
forum.trinitedigital.com/wp-admin/. - Enter your username and password.
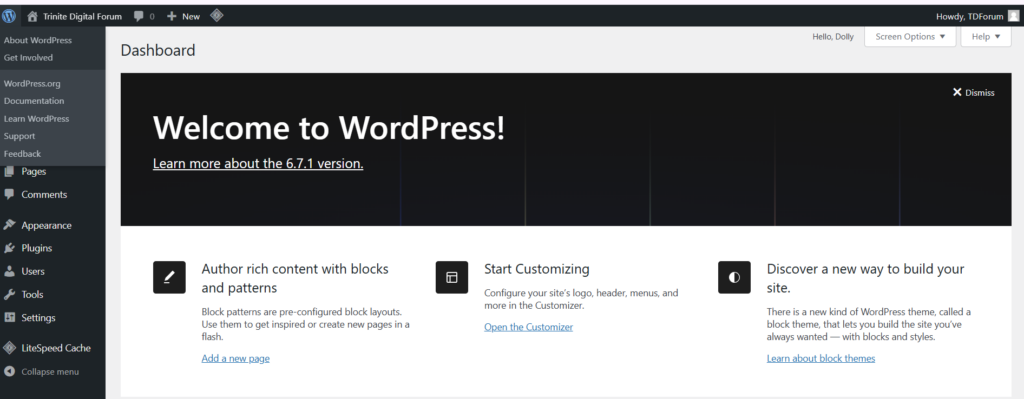
Step 2: Access the Dashboard
- Once logged in, you’ll see the WordPress Dashboard.
- This is the control panel for your website.
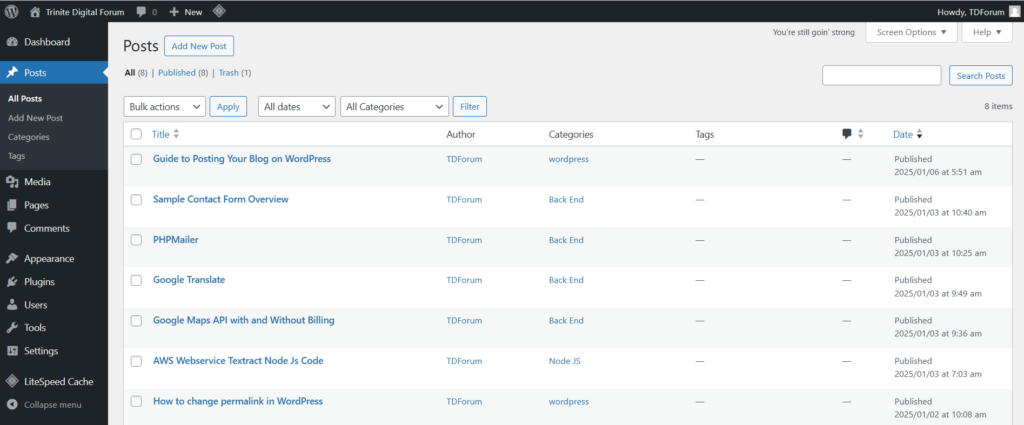
Step 3: Navigate to Posts
- In the left-hand menu, click “Posts”.
- Click “Add New” at the top or in the submenu under “Posts.”
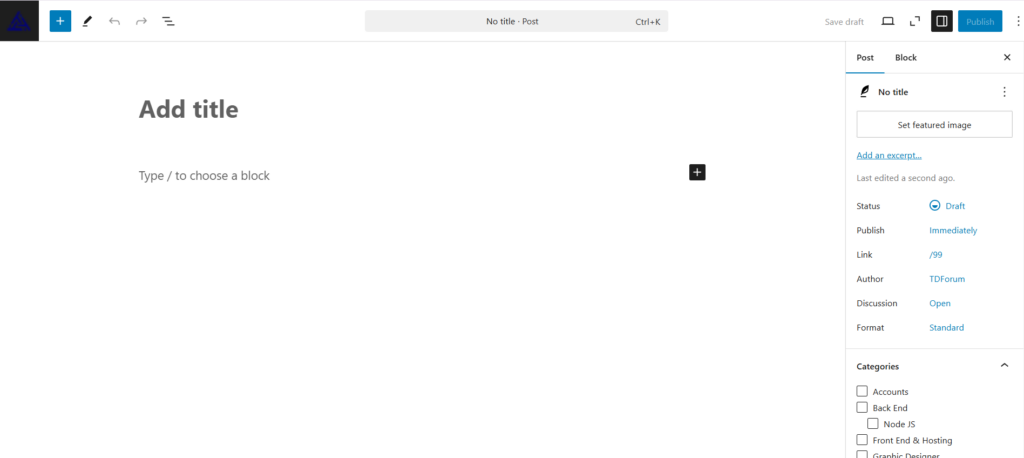
Step 4: Write Your Blog Post
- Enter a Title: At the top, add the title of your blog post in the “Add Title” field.
- Write the Content:
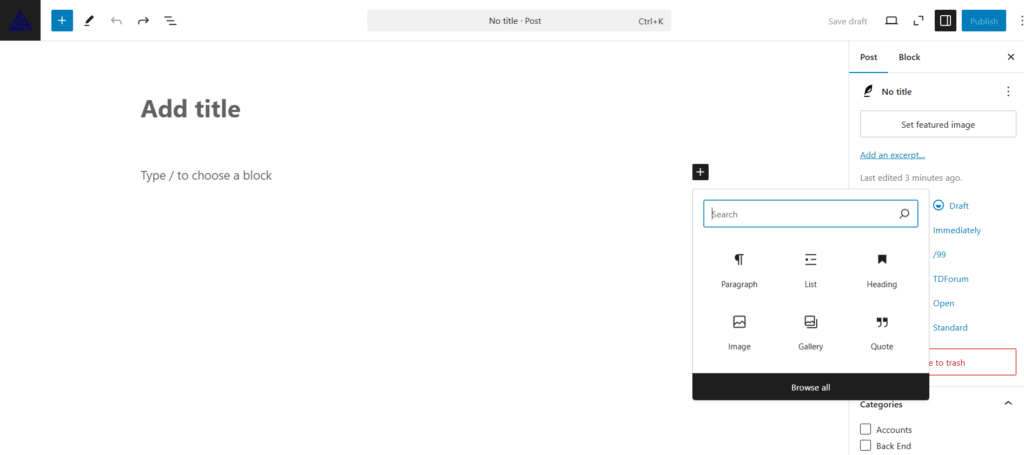
- Use the Block Editor (Gutenberg): Click on the “+” button to add blocks for text, headings, images, videos, and more.
- Type directly in the editor or paste your content.
- Use formatting options like bold, italics, and headings to structure your post.
Step 5: Add Images and Media
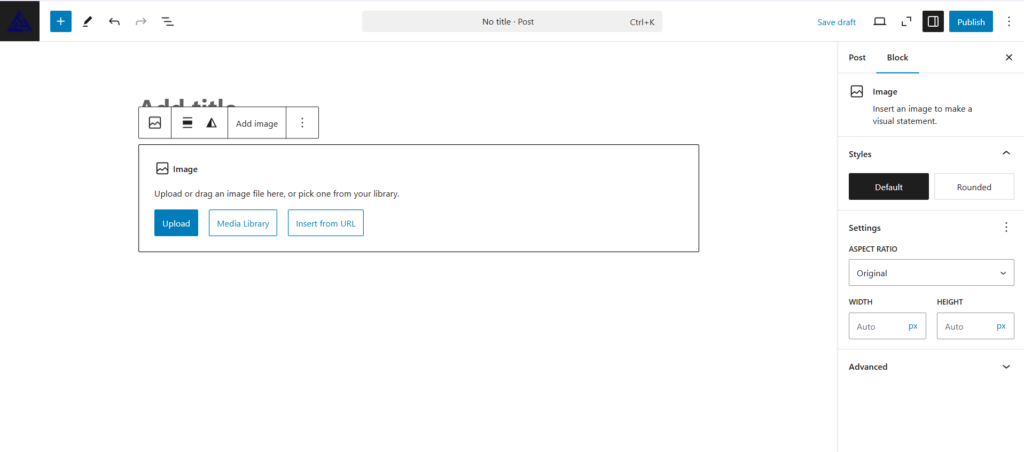
- Click the “+” button to add an Image Block.
- Upload a file from your computer or select an image from the Media Library.
- Adjust alignment and size as needed.
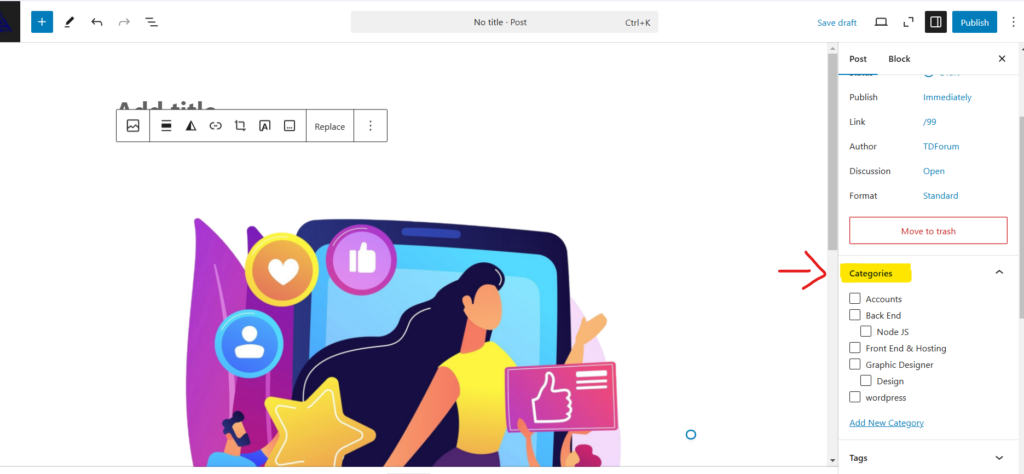
Step 6: Assign Categories and Tags
- On the right sidebar, find the Categories section:
- Add a new category or choose an existing one.
- Add Tags: These are keywords that help group your posts by topic.
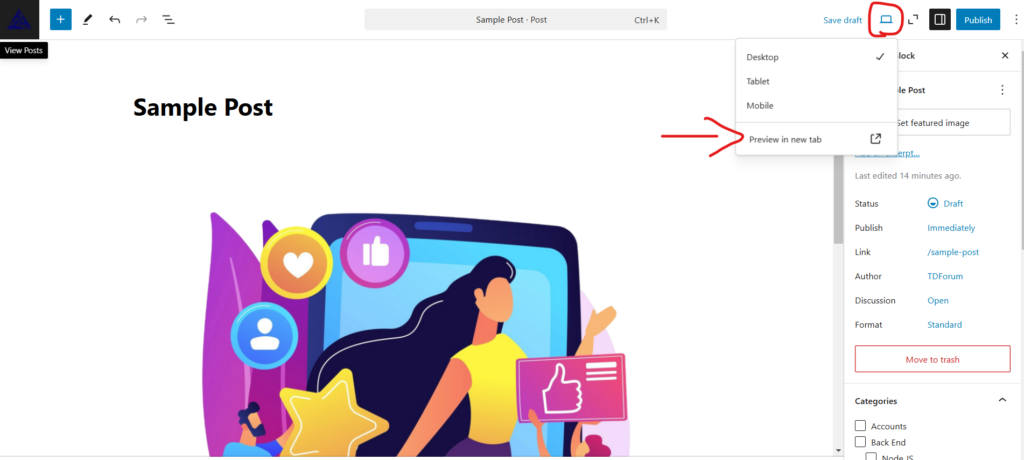
Step 7: Preview Your Post
- Click the “Preview” button at the top right to see how your post will look.
- Check for formatting, images, and layout.
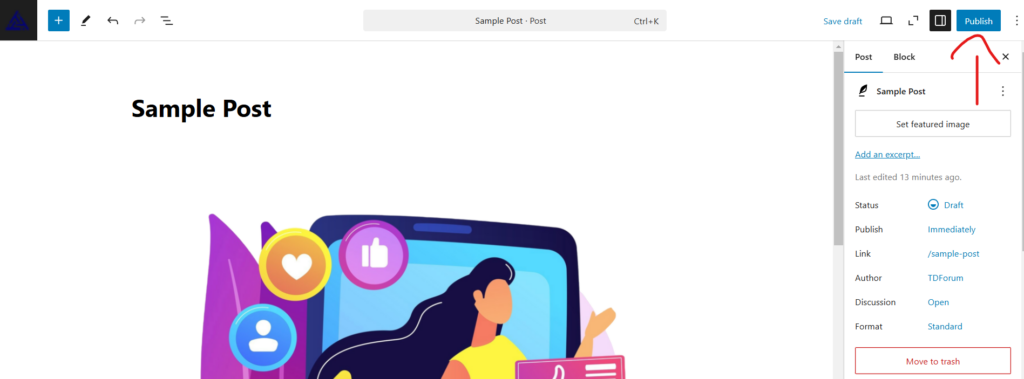
Step 8: Publish Your Post
- Once you’re satisfied, click the blue “Publish” button.
- Confirm by clicking “Publish” again in the confirmation prompt.
Step 10: View Your Published Post
- Click “View Post” after publishing to see your blog live on the website.